Monthly Archives: October 2012

Installing and using nuget

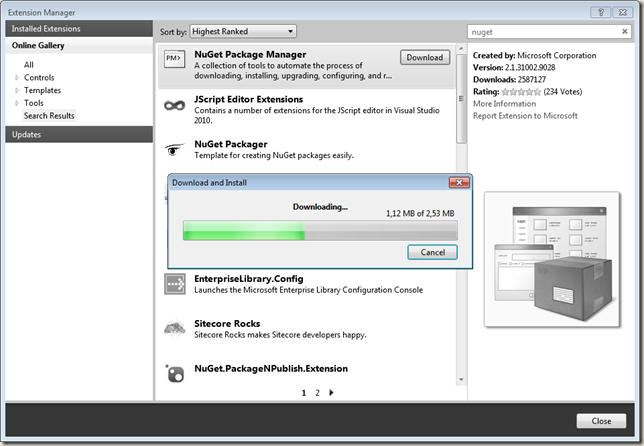
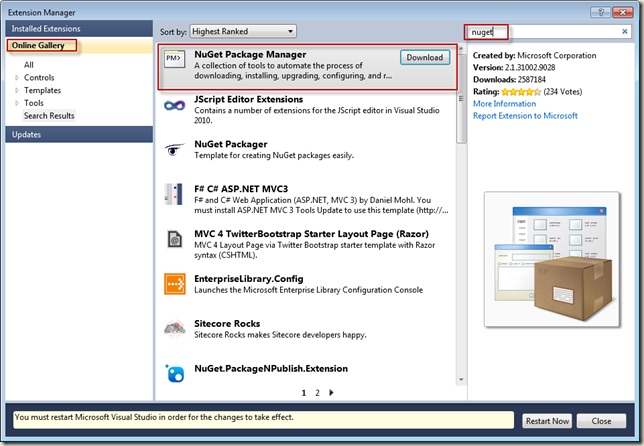
In Visual Studio, go to Tools / Extension manager. Select the Online Gallery, and type in ‘nuget’ in the search box:

nuget0

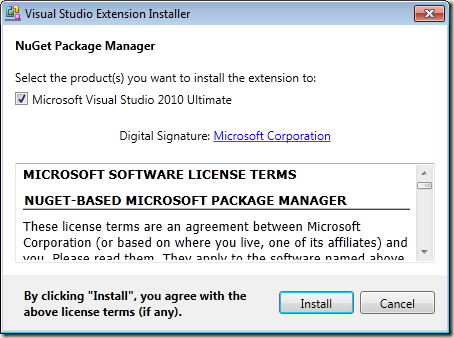
Click the Download button, and install Nuget Package Manager:

nuget1

nuget2

nuget3

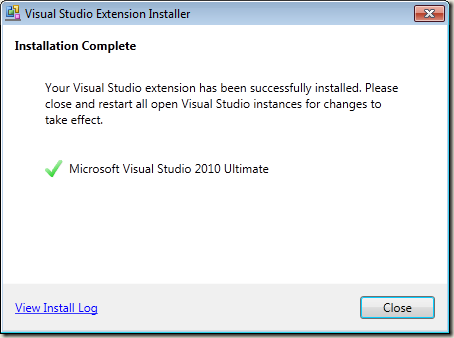
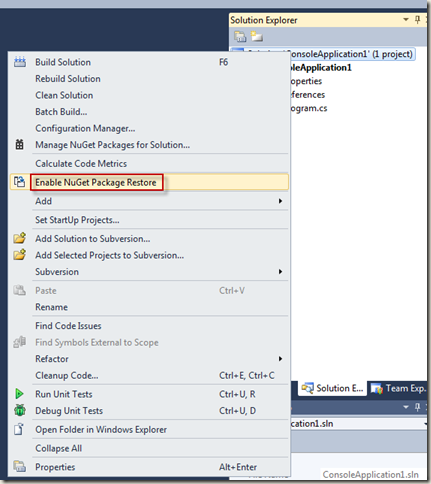
You need to restart VIsual Studio now. After that, if you click on a solution, you can enable Nuget Package Restore:

nuget4

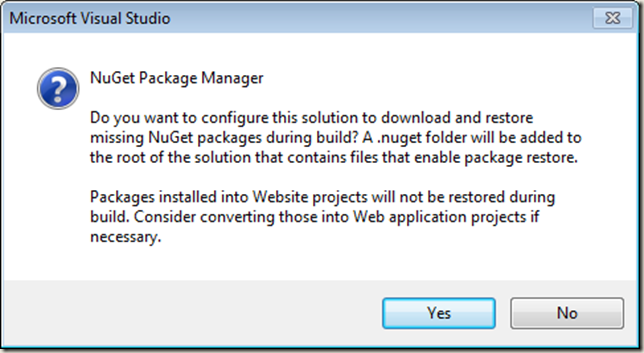
You will get the following message:

nuget5

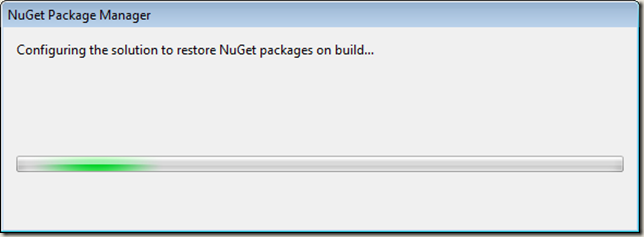
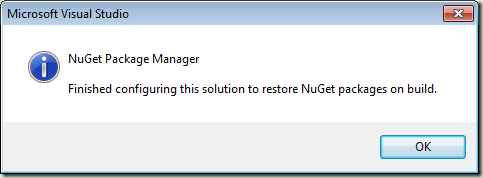
If you click the Yes button, the Nuget Package Restore will make sure that if you build your application, it will automatically download all required packages needed by the solution:

nuget6

nuget7

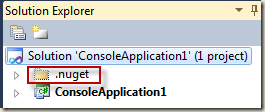
Afterwards, a new solution folder ‘.nuget’ is created:

nuget8

To add a nuget package, for example the Specflow nuget, right click the solution and select ‘Manage NuGet Packages for Solution…’:

nuget9

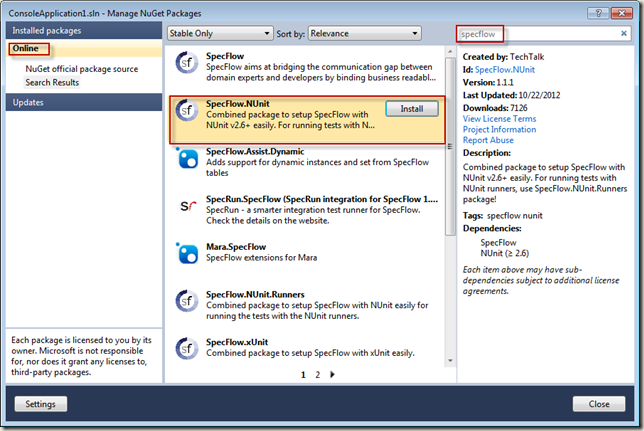
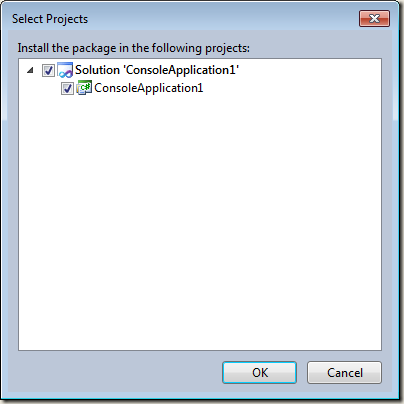
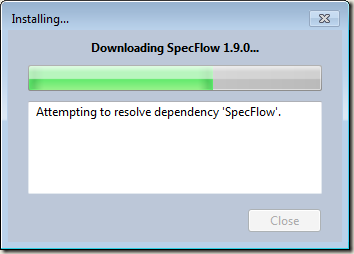
Select ‘Online’, type in the nuget name and click on the Install button next to the nuget you want to install:

nuget10

nuget11

nuget12

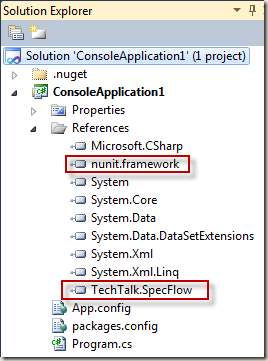
If you then look in the references of your project, you will see that the assembly has been added:

nuget13

Now everyone will be kept up to date with the correct nugets and versions with every build of the solution.

Sharepoint integration with IE 9

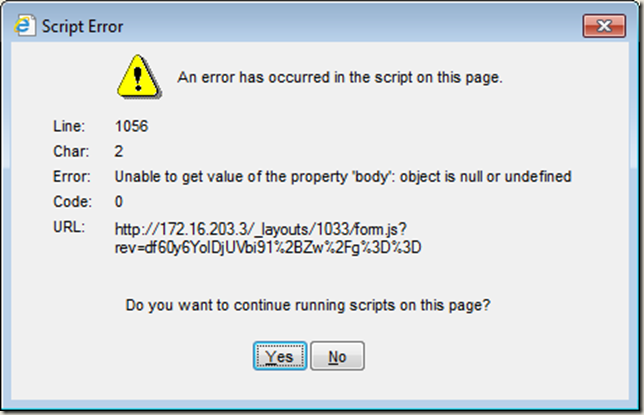
A while ago I set up a Sharepoint Services 3.0 site, which was working fine. However, lately two annoying problems appeared. It I tried to edit text using the rich text editor, I got exception:

sp1

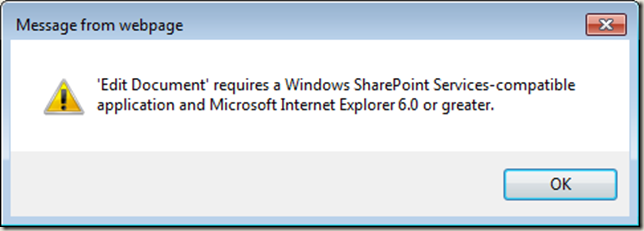
Trying to edit a document from a document library resulted in:

sp2

I searched for days to find the reason for this, and to my surprise there was actually nothing wrong with Sharepoint or Office, but with the fact that I used Internet Explorer 64 bit. All editions of IE 64 bit have only limited support, which caused all of these issues! If I use the 32 bit version of IE, there were no problems.

Switching from VMWare to VirtualBox

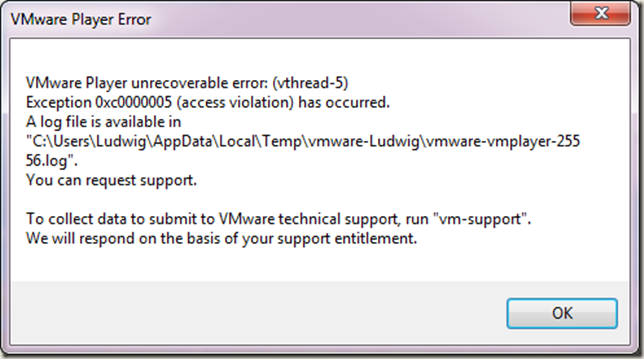
I have been using VMWare for a couple of weeks now. Unfortunately it was not a very good experience. Once in a while it crashed during startup or shutdown of the virtual machine, after which I manually had to remove the lock file in order to be able to use it again:

vbox1

But the most annoying issue was that in NAT mode the internet connection worked but I experienced several network related problems, and in bridged mode I simply had no internet connection. Trying to fix it with several solutions I found with google resulted in no solution.

Then I tried to quickly create a virtual machine with VirtualBox. After a few minutes I noticed that everything just worked out of the box, in NAT and bridged mode. So the decision was taken to move to VirtualBox.

I found that this does not mean that all of my virtual machines should be recreated, because VirtualBox also supports the VMWare hard disk format (vmdk)! It requires only some small manipulations to get this working.

First, power up the original virtual machine with VMWare, uninstall the VMware tools and shut down the machine:

vbox2

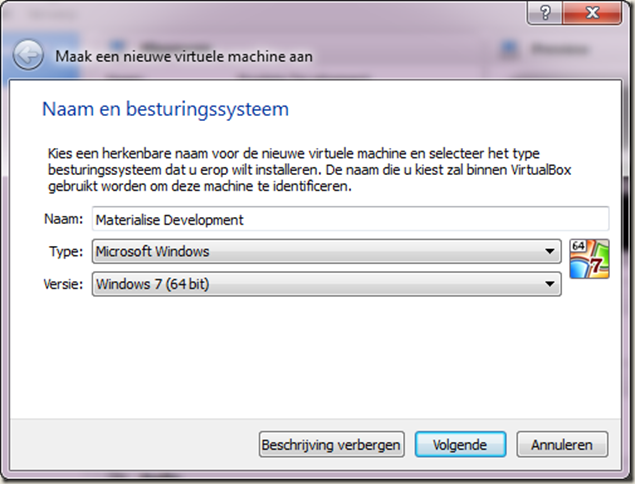
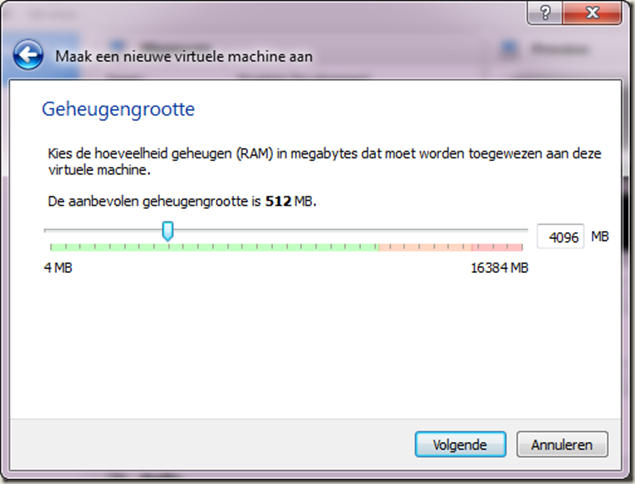
Start VirtualBox, create a new machine.

vbox3

Click next.

vbox4

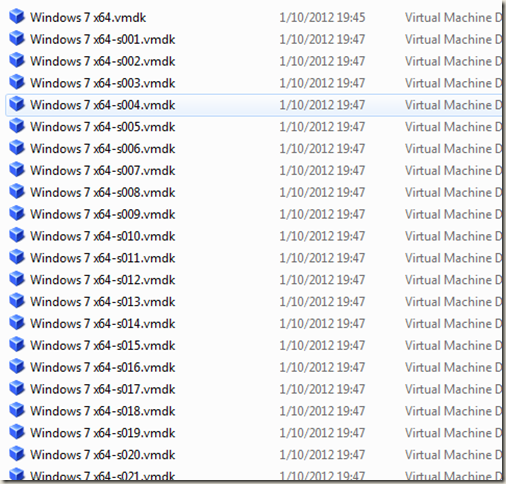
Now copy all of the original VMWare hard disk files into the created folder:

vbox5

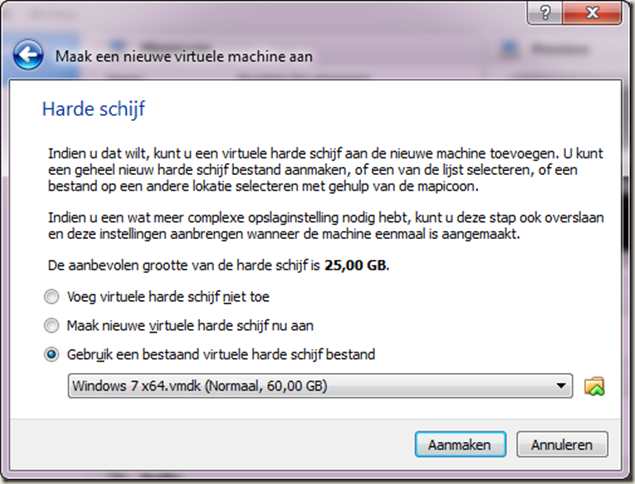
Click next to continue the creation of the virtual machine, and select the main vmdk file:

vbox6

Click create. Do not start the virtual machine yet!

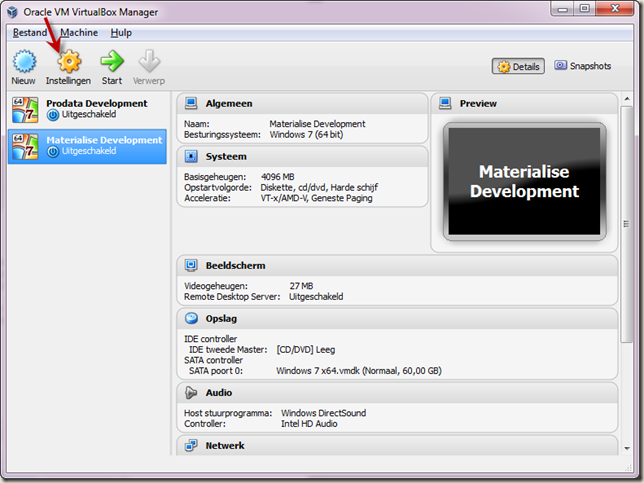
Select the virtual machine and click settings:

vbox7

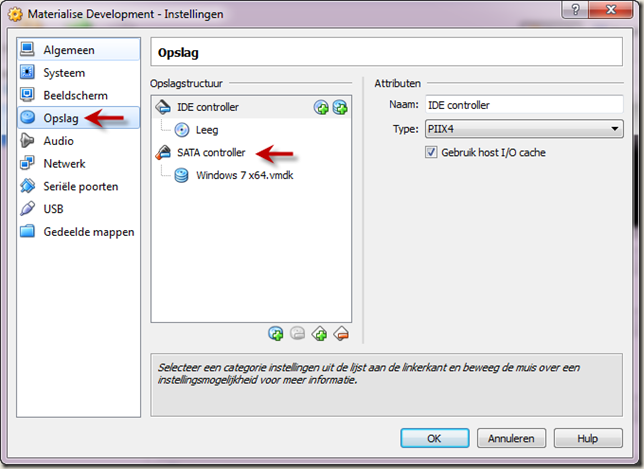
In storage, remove the SATA controller:

vbox8

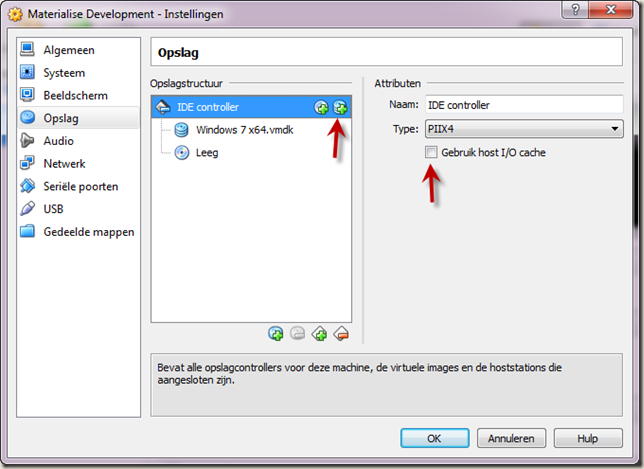
In IDE controller, uncheck ‘Use host I/O cache’ and click the ‘add hard disk’ icon:

vbox9

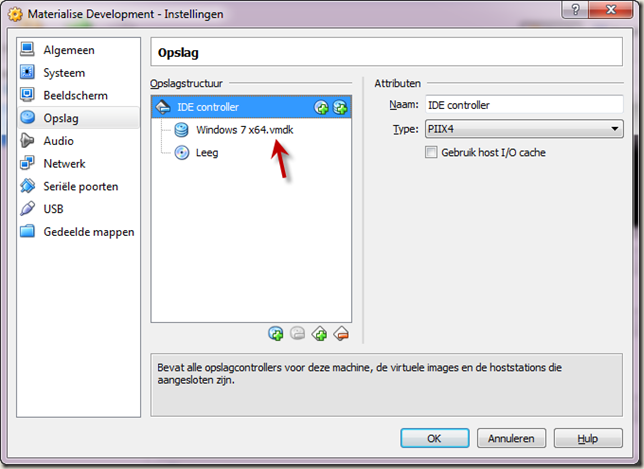
Choose the existing hard disk file:

vbox10

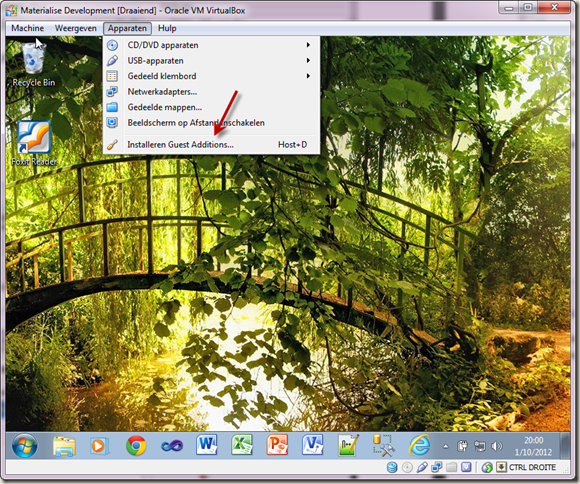
That’s it! Start the virtual machine. Windows will now update its drivers accordingly, and a couple of restarts may be needed. Eventually, your virtual machine will be up and running in VirtualBox. Then, select ‘Install guest additions’ in the Devices menu, so that you unlock the full power of VirtualBox:

vbox11

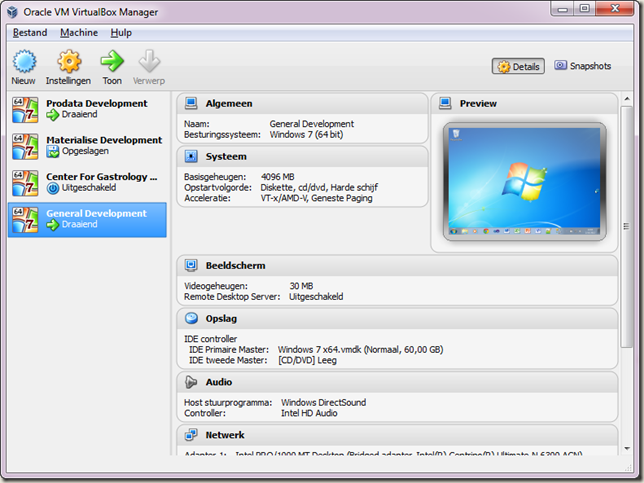
After an hour of work, my four virtual machines were converted successfully:

vbox12